
This event planning checklist runs from 90 days out to event day, with a closing list for the week after. Copy it into your notes, put one name beside every box, and work through it at a weekly meeting. It suits a mid-sized paid or free event in any country. Delete what does not apply, but keep every safety and approval item.
How to use this checklist
A box with no name beside it does not get done, so assign each one before you start. Treat the day ranges as latest dates. If a task can finish early, let it.
The Laces steps are marked so you can swap them if you use something else. Payment methods and approvals differ by country, so read your country planning guide alongside this one.
Days 90 to 61: decide and approve
The plan
- Write the event’s purpose in one sentence
- Name one person with the final say
- Set a low and a high attendance figure
- Decide on entry: paid, free, by invitation, or a mix
- List your jobs and put a name on each: money, suppliers, promotion, participant questions, the door, safety
The money
- Get written quotes for the three biggest costs
- Split your costs into fixed and per-person
- Work out how many tickets cover your costs at your low figure
- Add a contingency line
- Note when each deposit falls due
The date and place
- Check your country’s official 2027 public holidays and other events that weekend
- Visit the venue, and confirm capacity, closing time, noise limits and what it provides
- Ask the venue, local authority and police what your event needs, and keep the answers in writing
- Note how long each approval takes, then check the date still works
- Do not announce a date until the venue has confirmed it
Laces
- Create your organization and a draft event
- Apply for payment clearance. A person reviews it, and registration stays closed until you are cleared, even on free tickets
Days 60 to 31: open registration
Tickets
- Name each ticket type and say what it includes
- Set a price and a number of places for each
- If you want an early rate, make it a separate ticket with limited places, because prices do not rise by themselves
- Check what a participant pays in total on your country’s pricing page (Kenya, Ghana, Rwanda, Zambia)
The event page
- State what, when, where, how much, and who it is for
- Add what to bring, age limits, and access for people with disabilities
- Add your agenda if the event has a programme, listing only confirmed speakers
- Write your refund policy in the event description, or accept that the Laces refund policy applies
- Remove every registration question nobody will use
Test, then open
- Open the link on a phone, on mobile data, from a chat message
- Buy one real ticket on each network you expect to use. The service fee applies
- Find the ticket email and check its QR code opens
- Confirm the order appears in your app
- Open registration only after all of that works
Promotion
- Use one link everywhere: posters, groups, partners, radio mentions
- Put the same QR code on printed material
- Tell people outside Uganda to type their number after the country code, without the first 0
- Line up partners and community leaders who will share it
Suppliers
- Sign contracts and pay deposits on the agreed dates
- Book security, first aid and any transport
- Confirm power, sound and toilets
- Place orders for anything printed or sized, with a margin for late changes
Days 30 to 15: watch the numbers
- Review paid registrations against your break-even each week
- Add answers to your event page for any question you get twice
- Follow up unfinished orders from the app
- Remind your promoters that payments go through the link, never to a personal number
- Decide what you will cut if numbers stay low, and by what date
- Publish speakers, the programme and route details as they are confirmed
- Get the remaining approvals in hand, in writing
- Check sponsor deliverables against what you promised
More help with sales is in how to increase event registrations.
Days 14 to 8: rehearse
- Draw the entrance: queue lines, scanners, help desk, shade or cover
- Invite your door team through the app, and limit each volunteer to this one event
- Check roles. Volunteers do not see revenue, so keep finance access small
- Test mobile data at the venue, at the same hour as your event, on more than one network
- Choose who decides what happens if the network fails
- Write the emergency plan: first aid, exits, who calls whom
- Draft the run sheet, minute by minute for the first and last hour
- Confirm every supplier’s arrival time and contact in one document
- Reconfirm numbers for catering and printing
Days 7 to 2: confirm and communicate
- Send a short arrival message to paid participants by your own email or group chat, using the orders file for buyers’ contacts
- Include the venue, start time, transport, what to bring and how to find their ticket
- Tell people that the ticket is in their email, and to check spam
- Share the how to pay guide with anyone still registering
- Teach helpers the failed payment rule: stay on the payment page and tap Check again, then send the prompt again or change the number there. Going back to the event link can cause a double charge
- Avoid changing ticket setup now unless something is wrong
- Decide how late arrivals can buy. They can register and pay on their own phone from your link or QR code, and registration closes when the event starts unless you set a later time
- Brief your team on what each scan result means, using our QR check-in guide
The day before
- Install the app on every scanning phone, sign in and allow the camera
- Scan a real ticket on each phone. A free test ticket avoids a payment
- Charge phones and power banks, and pack spare data
- Print the run sheet and supplier contacts
- Walk the venue with whoever leads on the day
- Check the weather if any part of the event is outdoors
Event day
Before doors
- Open the entrance setup early and scan a test ticket on site
- Check mobile data again
- Brief everyone in one place: who decides, who to call, what to do with a hard case
- Confirm first aid and security are in position
During
- Keep one person scanning per queue, and a separate person solving problems
- Treat “Could not check that ticket” as a failed lookup, not a refusal. Try again
- Look up a person with a dead phone by order code or name
- Keep any cash entries on a separate signed list. Laces does not record cash, so reconcile it yourself
- Log incidents as they happen, with times
- Have one person stay free of any fixed job, to deal with whatever comes up
The week after
- Compare paid orders with who arrived, and add your separate cash list
- Download your sign-ups and sales from the app
- Pay suppliers and collect final invoices
- Withdraw what you need. The first withdrawal per organization is free, and later fees are shown before you confirm
- Handle any refund requests against your stated policy
- Thank participants, volunteers, partners and sponsors
- Write one page on what to keep and what to change
If you have less than 90 days
Do not skip tasks. Compress them, in this order:
- Approvals and venue, because they can stop the event outright.
- Payment clearance, because a person reviews it and you cannot speed that up by yourself.
- The event page and one test purchase.
- Promotion through people who already know you.
- The door plan and first aid.
If approvals cannot finish in time, move the date. For the full reasoning behind each stage, read how to organize an event in 2027.
Frequently asked questions
Does this checklist work for a small event?
Yes. Delete the tasks you do not need, such as sponsors or printed orders. Keep the approvals, first aid and door checks, because those protect people.
When should I open registration?
Once your venue, date, prices and refund terms are firm and your organization is cleared. Then test a purchase before you promote the link.
Which tasks should I start first?
Approvals and payment clearance. Both depend on other people’s timing, and either one can hold up everything after it.
Can I print this checklist?
Yes. Use your browser’s print option, or copy it into a shared document. A shared document lets each person tick their own boxes.
Can Laces send the checklist reminders for me?
No. Laces runs registration, payment and check-in. Assign these tasks in whatever your team already uses.
One less list to keep
Create your event, and let registrations, payments and check-ins land in one place from the first ticket.
Read next
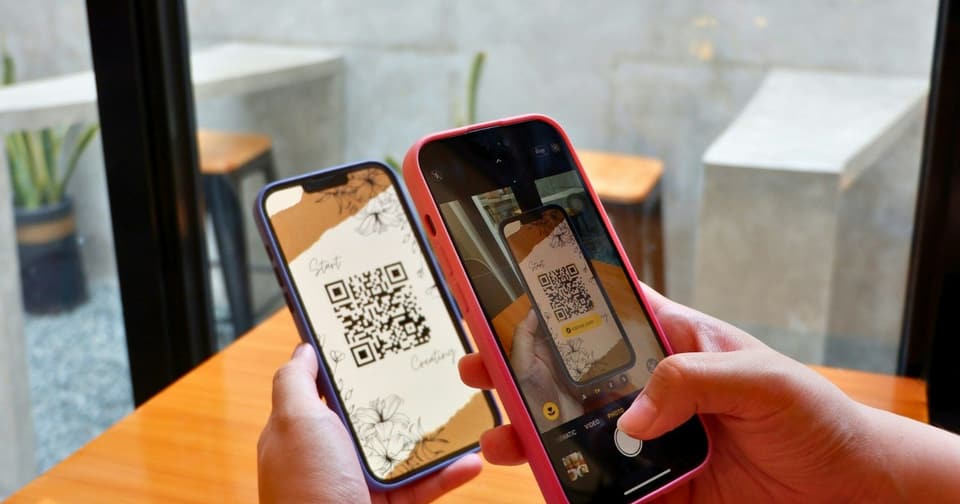 For organizersHow QR Code Event Tickets Work: Creation, Scanning and Check-InHow QR code event tickets are issued and scanned, what each result at the gate means, how repeat scans show up, and how to prepare your check-in team.5 Nov 2026 · 8 min read
 For organizersHow to Create an Online Event Registration Form That Collects PaymentsWhat to ask, what to leave out, and how to tie each registration to a confirmed payment and ticket, with no screenshots to chase.5 Nov 2026 · 7 min read
 For organizersHow to Increase Event Registrations and Ticket SalesHow to increase event registrations: a clear offer, one link, real deadlines, partners who share, an easy phone checkout and follow-up on failed payments.5 Nov 2026 · 7 min read


